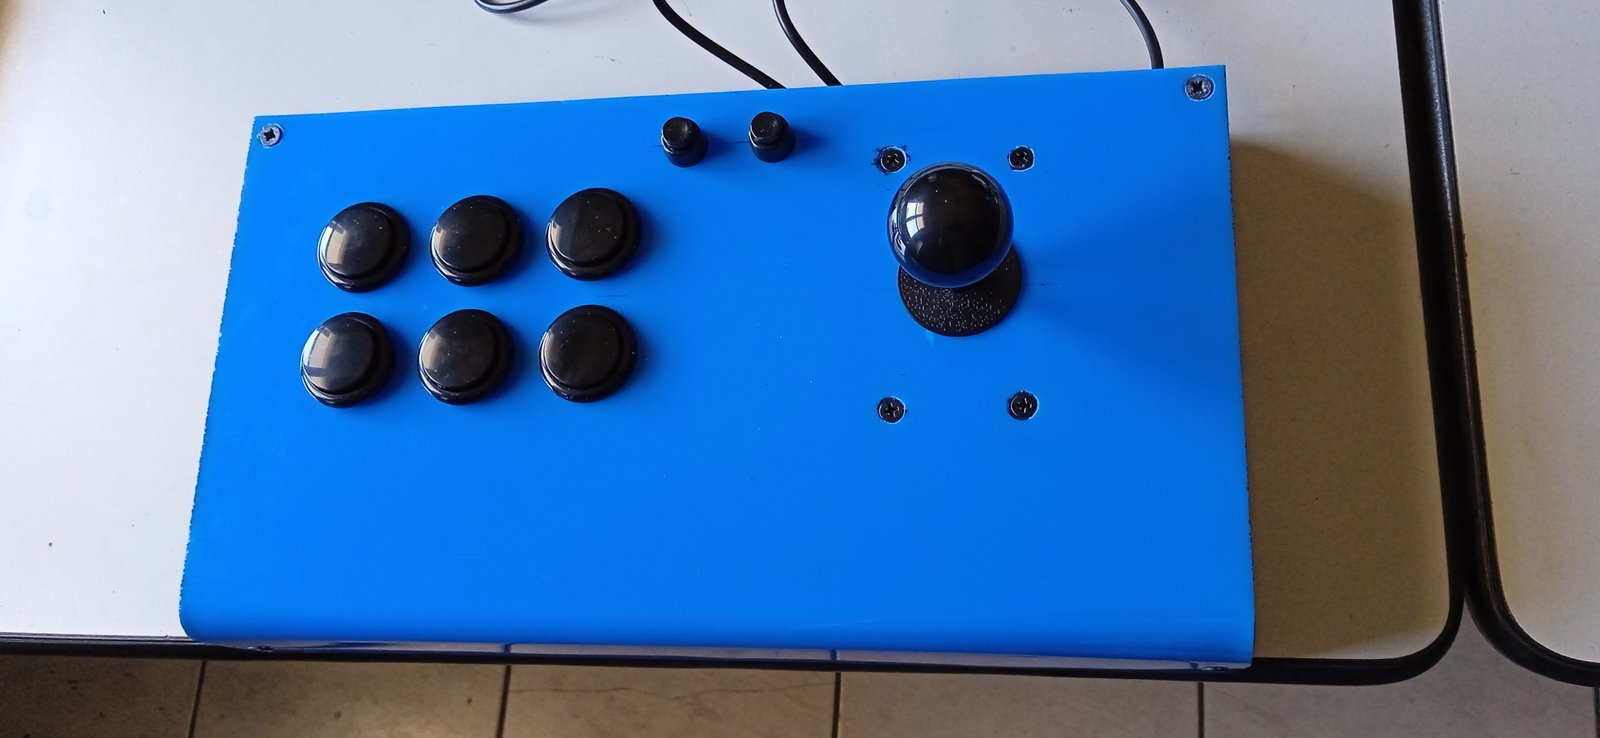
I really liked the arcade games back in the 80s-90s and still enjoy playing them in MAME, with a keyboard or a gamepad. But nothing beats the feeling of an arcade stick. For a long time, i wanted to buy or make one, for my self, but i was mostly been hesitated, because of the various models, the big gap between prices and quality of specific products and especially because of the position of the stick.
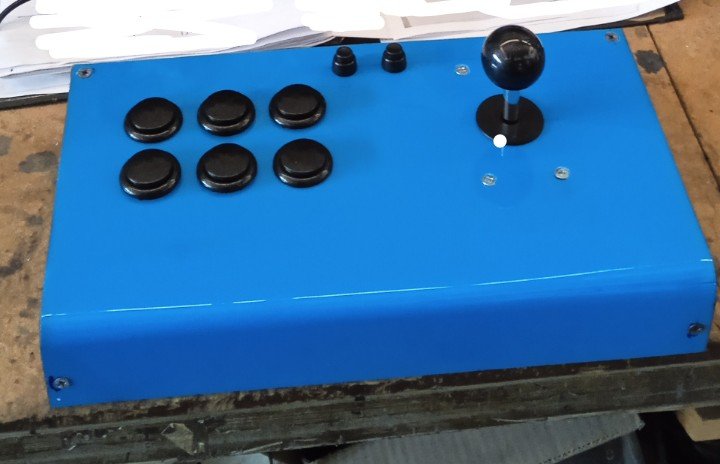
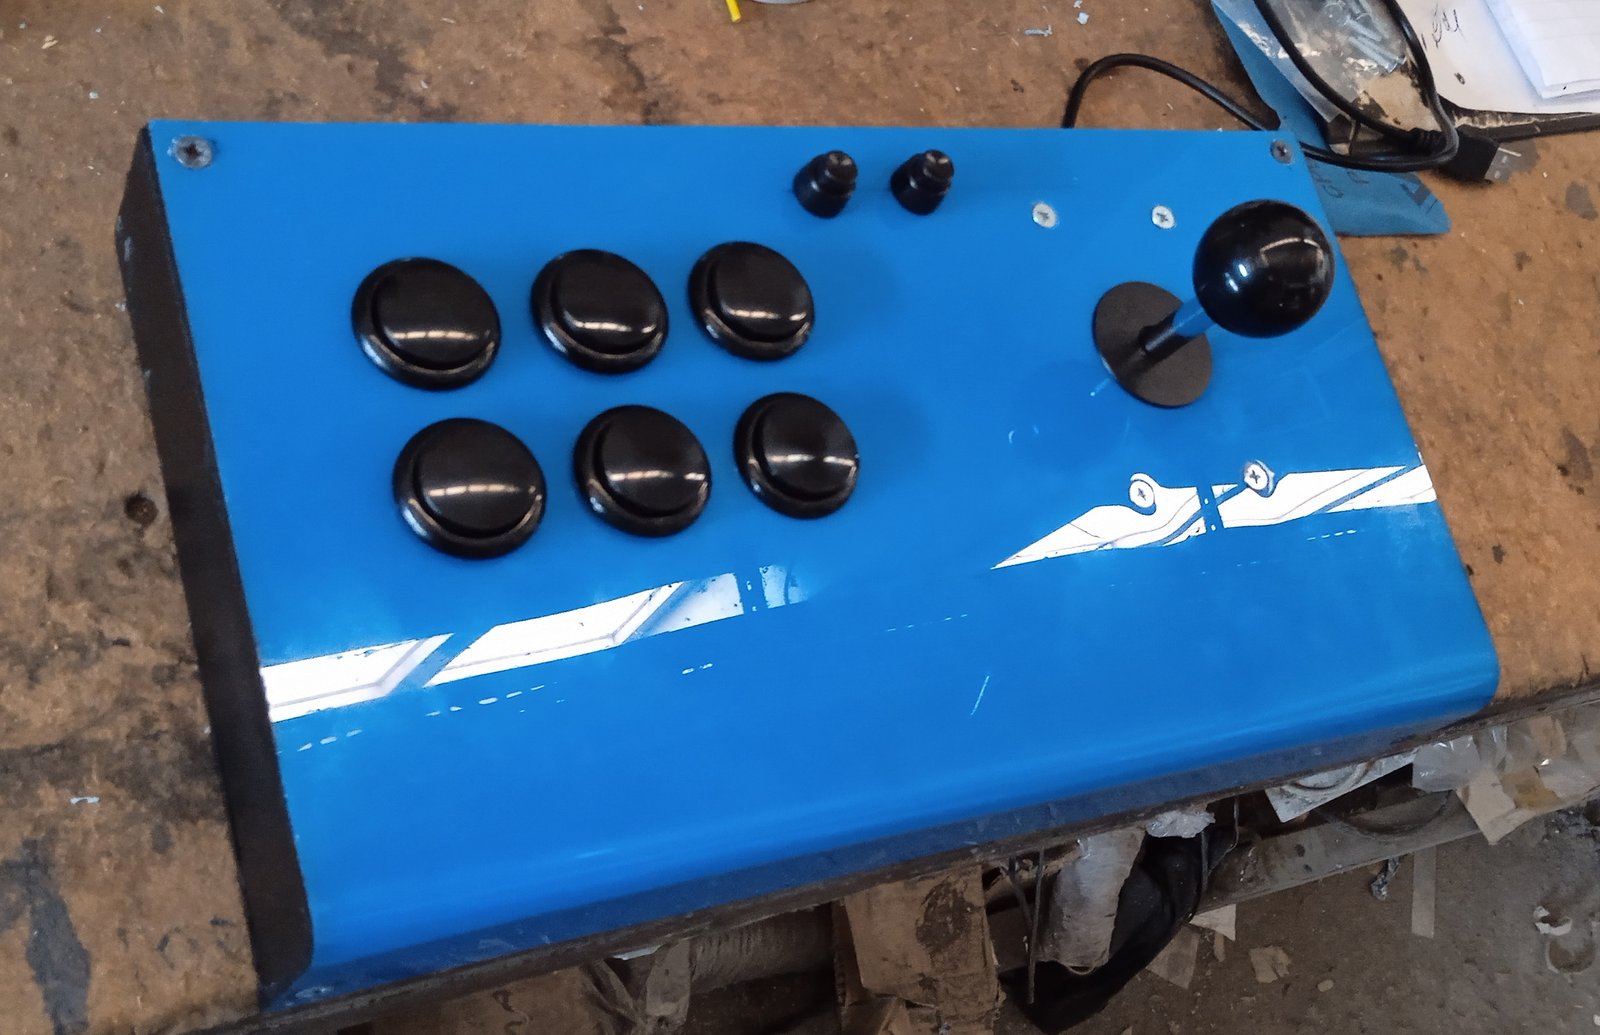
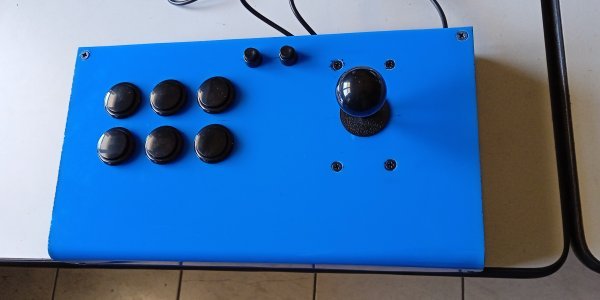
I grew up, playing the arcades, with the stick in the right. But the "default" location on 99% of the made arcade sticks, have the stick on the left. Also the position of the buttons, has more in mind the beat-em up games, than shoot'em up or platform games. So i decided to make my own, the way i liked it... stick on the right and buttons in the "Street fighter" arrangement. A very useful resource is the website Slagcoin. It has a lot of information about the arrangements of sticks, schematics and diagrams, example builds and more. Anything you want to know about building an arcade stick, can be found there. After reading it, it was time to purchase some materials and start building.
Materials...
The stick and the controller, was purchased as a kit. It contained the controller, a Zero Delay USB one, the stick which is a Sanwa JLF knock-off, ten buttons and all necessary cables. I also bought a plexi glass sheet, 3mm thick, some scrap wood i had and basic tools, like a drill, drill bits to start the holes, files and sand papers. I had to purchase a step drill up to 32mm diameter to open the holes, cause there were big!
The stick is not the best one. The thing is, that to purchase a good one, you have to order one from abroad and the shipment cost is great. Also, i wasn't sure if i would like the stick at all, so i decided to buy this cheap one and if i liked the whole thing, then i could upgrade any part, i needed. The stick as a cheap one, has a long distance from left to right, even if the shaft is not too tall.
Building it...
The more scary part of the process, was drilling the plexi glass sheet. There were many times, that i thought that the sheet brake, but hopefully everything went fine. I downloaded a schematic from the Slagcoin website, with a StreetFighter arrangement. After printing it, i cut it between the buttons and the stick. I wanted to have more space, between them, so i placed the two pieces of the schematic on the plexi glass and taped it. After that the nightmare... eh... drilling process, started.
After finishing the drilling, it was time for the bending. The bending was more easy than i thought and everything went well. I used my desk and a metallic ruler to bend it, using a small torch-lighter. With slow movements up and down i heat the sheet and when it was flexible, i just made the bend. After it cooled down, the plexi glass felt very strong and rigid. In the front, even with my both hands on the build, it doesn't flex at all.
Experience...
So... how it is? First of all, i really like it... i enjoy playing with it, even if it's not that good. Using an arcade stick, is more joyful, than using a gamepad. You can't play Pang, Bobble Bubble, Pacman, Raiden with keyboard, these games made to be played with an arcade stick. I don't know if it is nostalgia, but it's a whole another level of experience playing them this way.
The stick and the buttons as expected are not the greatest, but even though are enough, to remember the old times back in the 90s, in the arcades. For sure, i have to replace the actuator, to limit the distance of the shaft or perhaps, i should buy a good/original Sanwa stick.
At the back of the build, there was some flex, as the 3mm thick plexi glass wasn't thick enough. So i grabbed some spare wood, cut some pieces and placed them inside the build. This way the wood was supporting the weight from my hands and at an instance the build made strong enough to abuse... as Raiden is hard enough... :)
To do...
One thing i will do, is to throw a spare Raspberry Pi Zero i have, to make the build an independent entertainment system. This way, i could just grab the build, plug the RPi at a TV and start playing, everywhere there is a TV. No need to have it just in my place.
Also, i will add two buttons on the left/right side, to play pinball games and also some more small buttons on the top, to use MAME more easy, as just the two buttons on the top, are not enough for just MAME. If i was using Retroarch/Retropie, perhaps there were enough, but with plain MAME are not.
Conclusion
If you enjoy arcade games, you should definitely make or buy an arcade stick, it's a whole different level of gameplay experience. If you are thinking to make one, don't hesitate. It's not difficult, there is no need for any soldering and the board is just plug and play. It's so easy, that you should do it as a project with your kids.
